Fall & Winter
Snow mold on Minnesota lawns last spring: what to change this fall
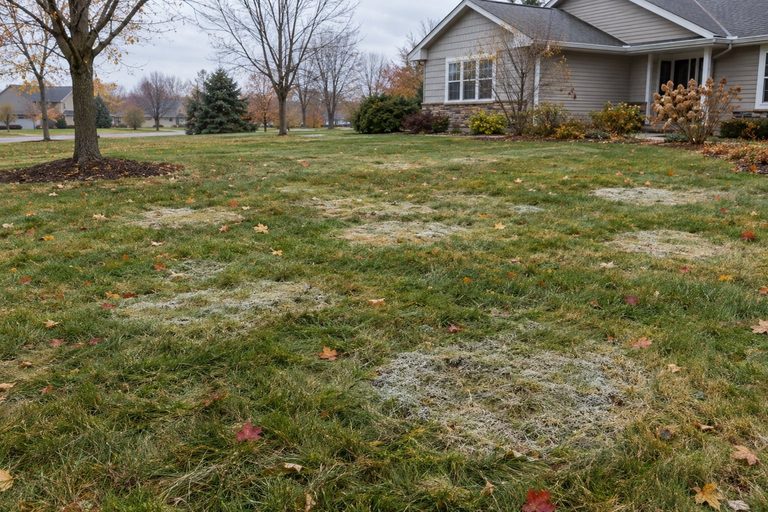
Snow mold hit many Minnesota lawns last spring. Learn the fall changes that reduce it: final mowing height, leaf handling, and fertilizer timing.
Water left in sprinkler lines freezes, expands and cracks pipes, valves and heads. When to winterize, the blowout method step by step, safe air pressure, and when to call a pro.
Jack · golf course superintendent·4 min read·October 2, 2026
Every spring, irrigation techs get the same calls: a backflow preventer split open, a valve body cracked, a lateral line that sprays like a fountain. Almost all of it happened in one night last winter, when water sitting in the system froze. On a golf course, winterizing irrigation was a two-week job on the calendar every fall. At home it's an afternoon, and it's worth doing right.
Blow out the system before the first hard freeze, when overnight lows are forecast to drop into the mid-20s or lower for several hours. A light frost won't freeze buried lines, but the exposed parts (the backflow preventer, the main shutoff, above-ground piping) freeze first. Across most of the northern US that means October into early November. Earlier up north and in the mountains.
If you water late into fall to help the lawn and trees, that's fine. Just keep an eye on the forecast and blow out before the first hard freeze.
You need an air compressor with enough volume, measured in CFM (cubic feet per minute), not just pressure. Small pancake compressors run out of air quickly and can't push water out of long zones. Many homeowners rent a tow-behind compressor or hire this out.
Compressed air can turn a loose fitting or a sprinkler head into a projectile. Wear safety glasses, stand away from heads while a zone is running, and never stand over the backflow preventer while the system is under air.
Call an irrigation company if you don't have the right compressor, the system is large or you don't know where every valve is, or if your backflow preventer needs an annual test (many towns require one). The cost of a blowout is small compared with a cracked backflow preventer.
Open the main shutoff slowly so you don't send a water hammer through the lines, close the test cocks, and run each zone to check for leaks. And keep an eye on deep, infrequent watering once the season starts.
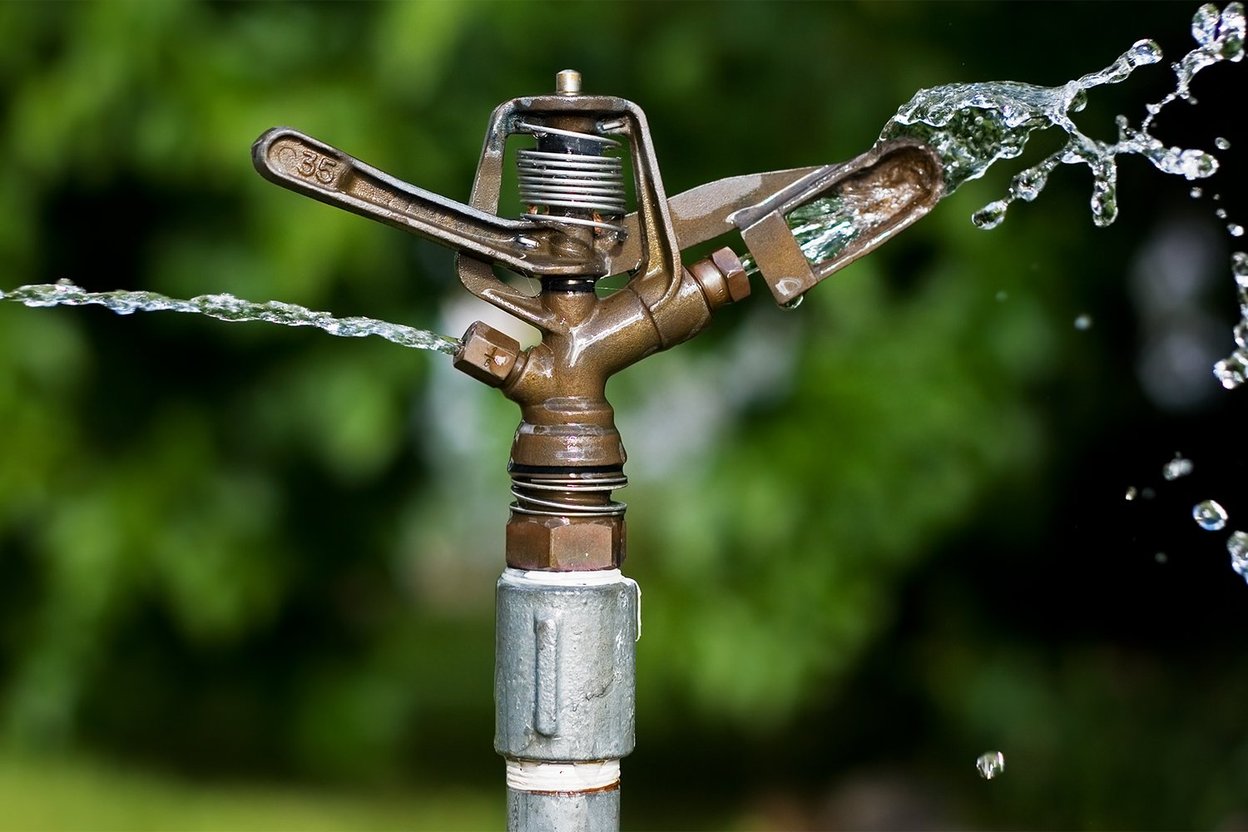
Photo: Impact Sprinkler Mechanism 2 by JJ Harrison, CC BY-SA 3.0.
Snow mold hit many Minnesota lawns last spring. Learn the fall changes that reduce it: final mowing height, leaf handling, and fertilizer timing.
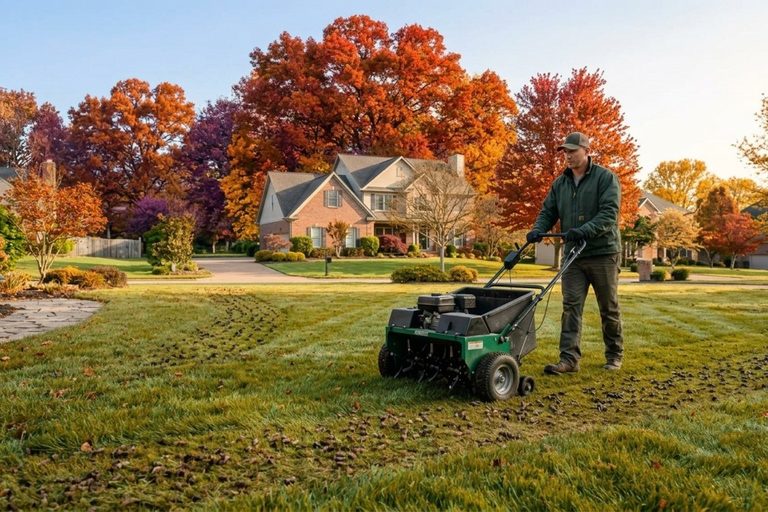
Late October core aeration can work if the grass is still growing and the soil is moist and unfrozen. Here's how to check, and when to wait.
Move carved pumpkins off the turf within days to compost, a drop-off, or a garden bed so the grass doesn't die underneath. Local rules vary.